
How to knock in your new Cricket Bat
Why Do You Need to Knock In a Cricket Bat?
Knocking-in is essential to extend the life of your cricket bat. Without proper preparation, your bat is highly susceptible to damage - particularly at the toe and edges.
Knocking-in compresses the fibres of the blade, reducing the risk of dents, seam marks and cracks when facing hard balls. It strengthens the surface and prepares the bat for real match impact.
How Long Should You Knock In Your Bat?
There is no fixed rule - it depends on how firmly the bat has been pressed during production.
- If a mallet leaves deep indentations in the blade, the bat is under-pressed and will require more knocking-in.
- If only minimal marks appear, it has likely been firmly pressed and will need less preparation.
As a general guide, 1-2 hours of knocking-in is a safe starting point before net practice.
Can You Overdo Knocking-In?
No.
Provided you build up the force gradually, you can knock in as much as you like. The more preparation you put in, the better your bat will perform and the longer it will last.
Can You Knock In Without Oiling?
Yes.
However, we recommend applying an anti-scuff sheet beforehand for protection.
For full preparation advice, see our Bat Preparation Guide.
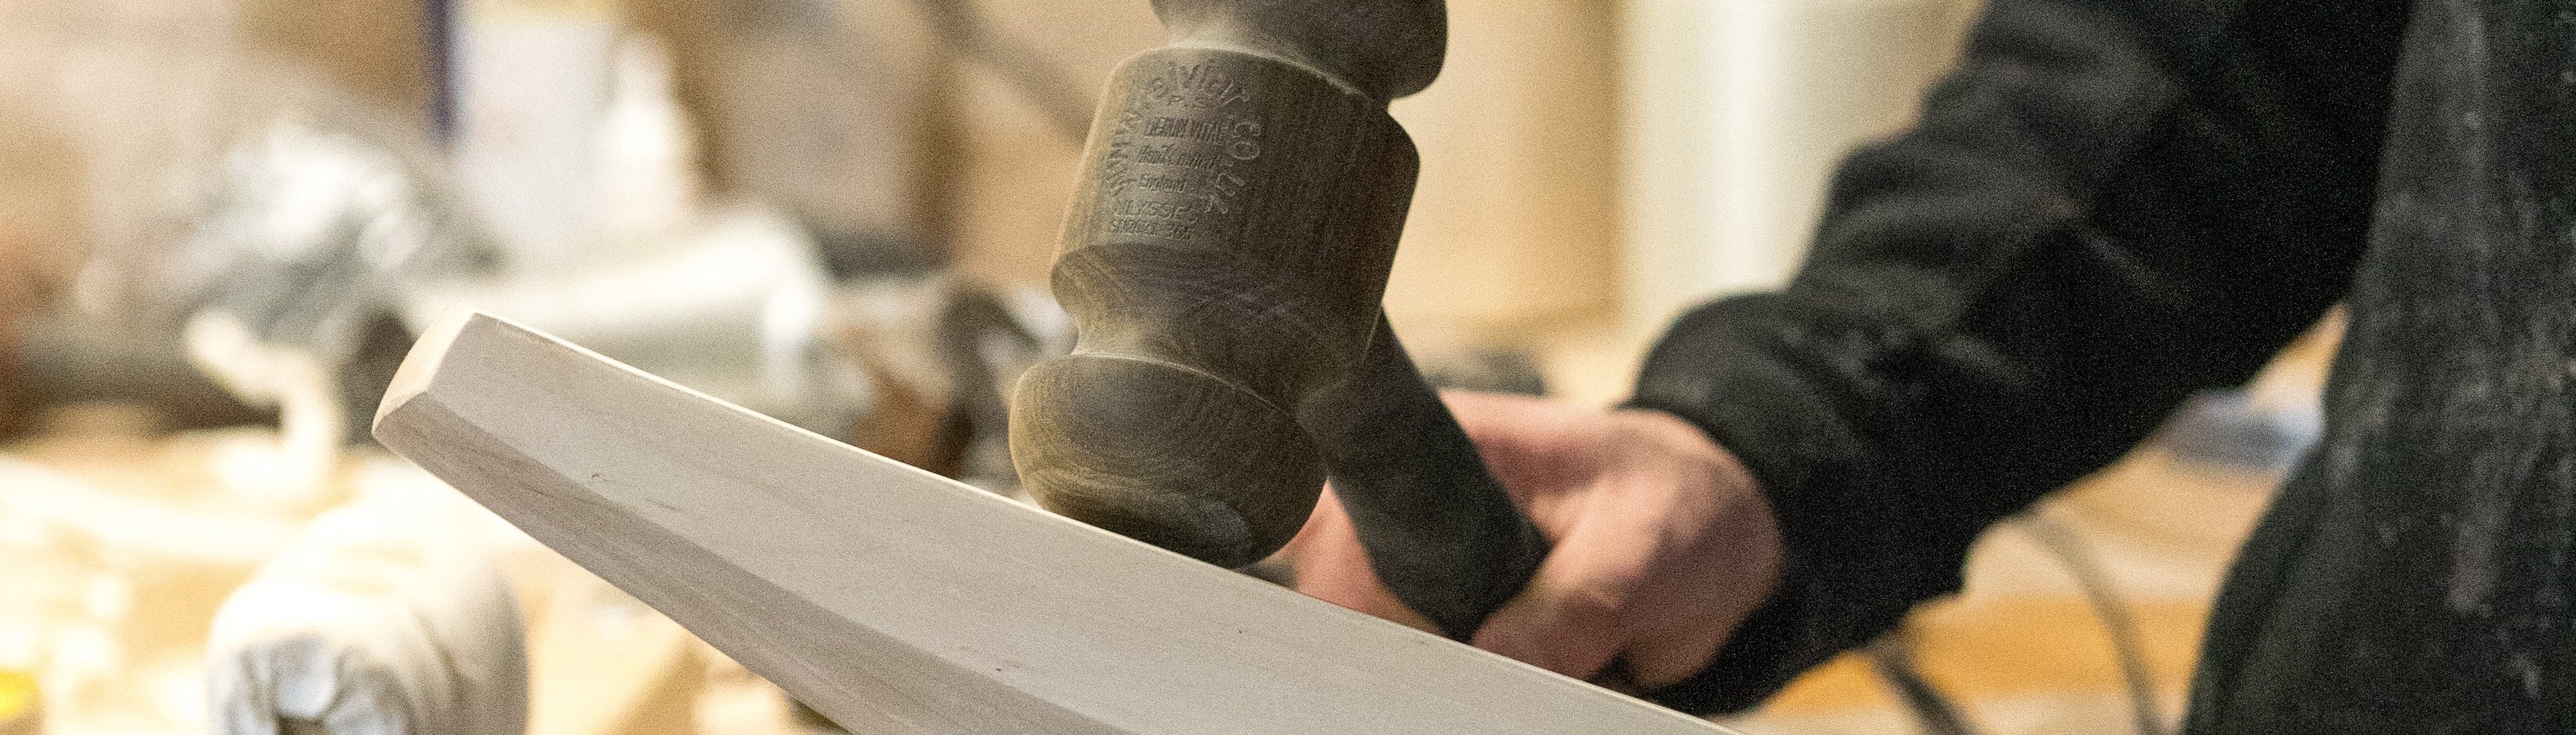
Focus Areas: The Toe and Edges
The Toe
The toe is the most impact-prone part of the bat.
When new, it has sharper and more squared-off edges. Through knocking-in, we aim to simulate natural wear by gradually rounding the toe with repeated, controlled mallet strikes.
This reduces the risk of early cracks and surface damage.
The Edges
We strongly advise not to strike the actual edge or angled part of the bat with a mallet.
Unlike the face, this area is not pressed and is therefore much softer. Hitting it directly increases the risk of hairline cracks and structural damage.
Instead, strike the blade near the edge, replicating the angle and force of real ball contact. This is the safest and most effective way to prepare the edges.
How to Judge Readiness
Use both feel and visual inspection.
- Large dents appearing? Reduce force and build up gradually.
- No dents appearing? Increase pressure slightly.
The goal is to strengthen the surface without causing damage.
As Sam’s old mentor used to say:
"You can never give them too much."
Playing In Your Bat
Never use a brand-new bat straight in a match.
Start in the nets with older balls and monitor how the blade responds. If deep seam marks appear, resume knocking-in.
Once you are confident in the surface, introduce newer balls during practice sessions. This gradual playing-in phase ensures your bat is fully match-ready.
Using Your New Bat
If you bat lower in the order, you may be able to introduce your bat earlier.
Top-order batters should take extra care, as new bats are most vulnerable against new balls.
New bats and new balls have never been friends - let them meet gradually.
Important Warning
Do not use your new bat against a bowling machine.
Bowling machine balls are harder, heavier and often faster than standard cricket balls. They can cause severe and sometimes irreparable damage to a new blade.
Lastly
Always knock in your bat in a way that replicates real ball contact. This ensures you are preparing it for match conditions, not just ticking a box.
Take your time, and give your bat the best possible start.